
COLOUR SPACE TRANSFORM
One Plugin. Every Camera. Consistent Colours.
Download our Colour Space Transform for free
Compatible with Final Cut Pro on macOS


Colour Grading in Final Cut Pro finally just works
No matter which limitations you face when colour grading in Final Cut Pro. We most likely solved them.

Grading for hours and still getting nowhere?
It’s likely not your fault! Let us explain…
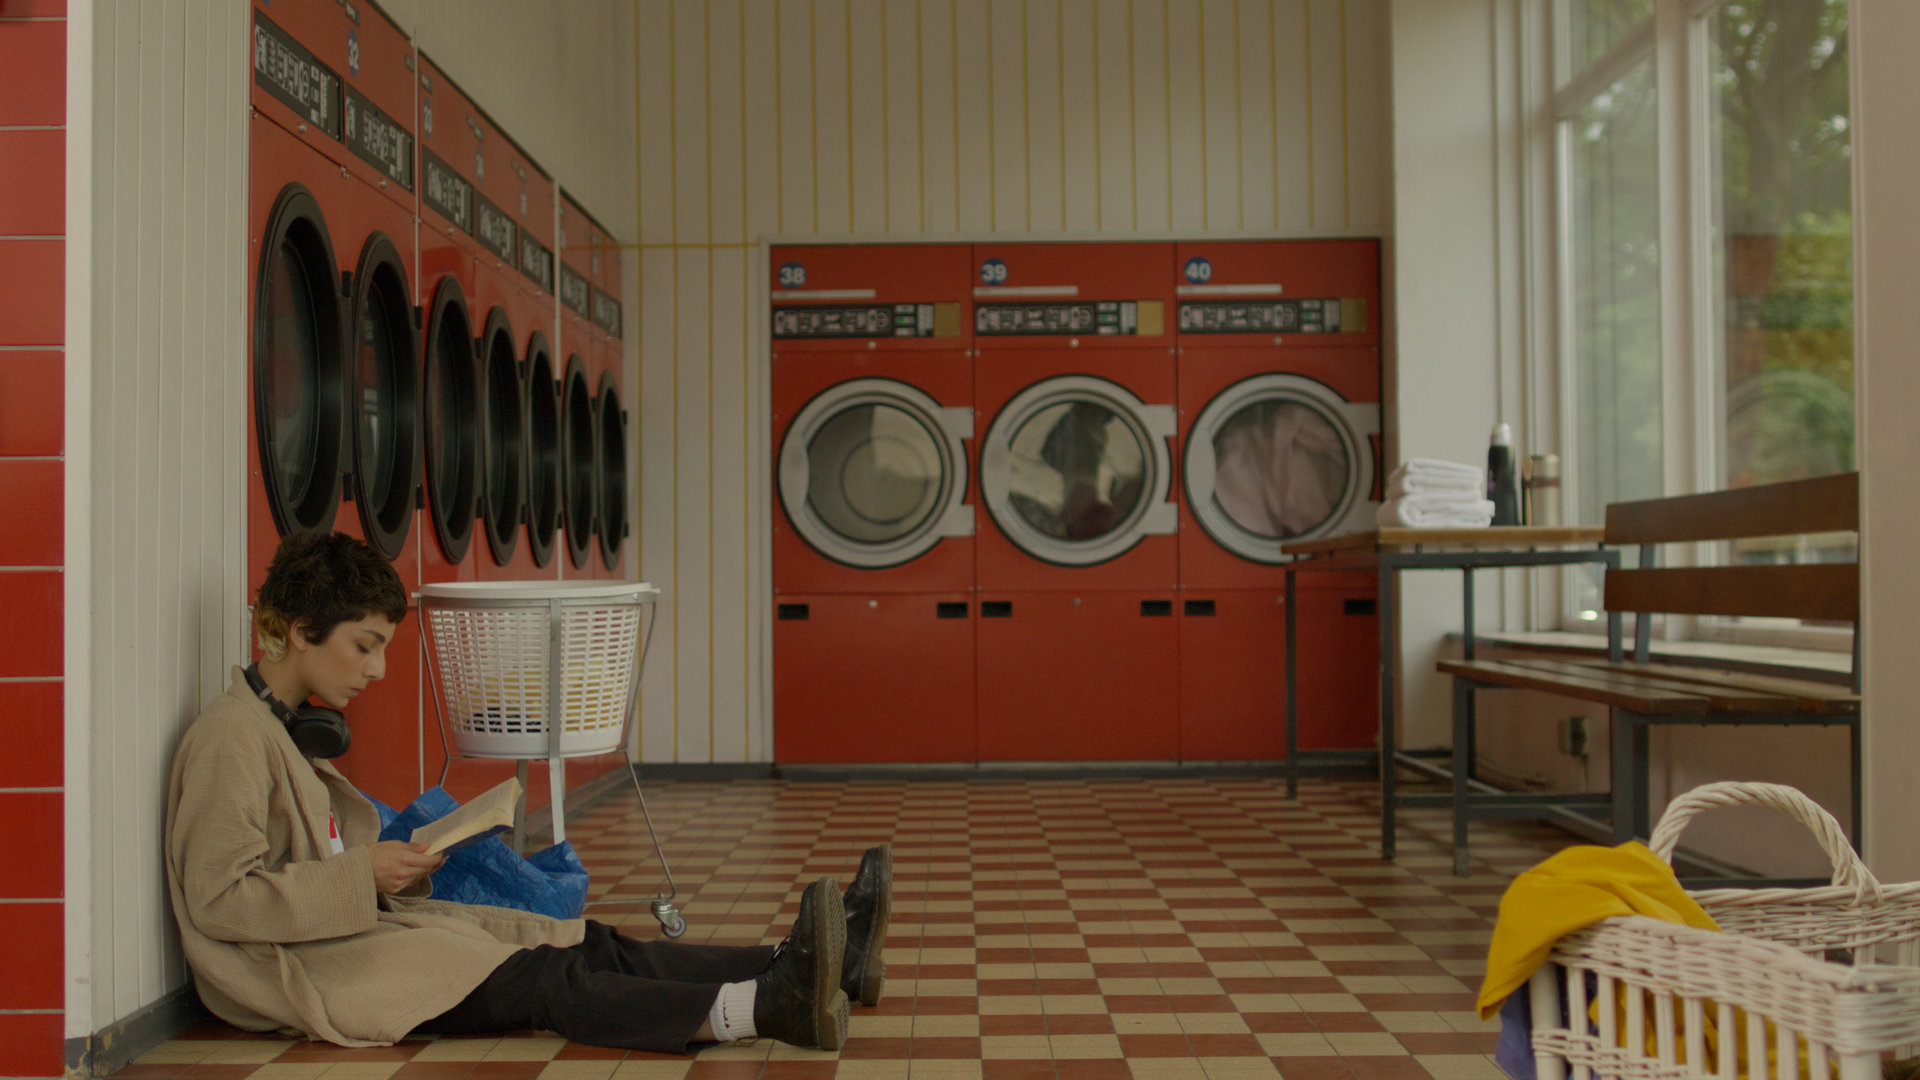
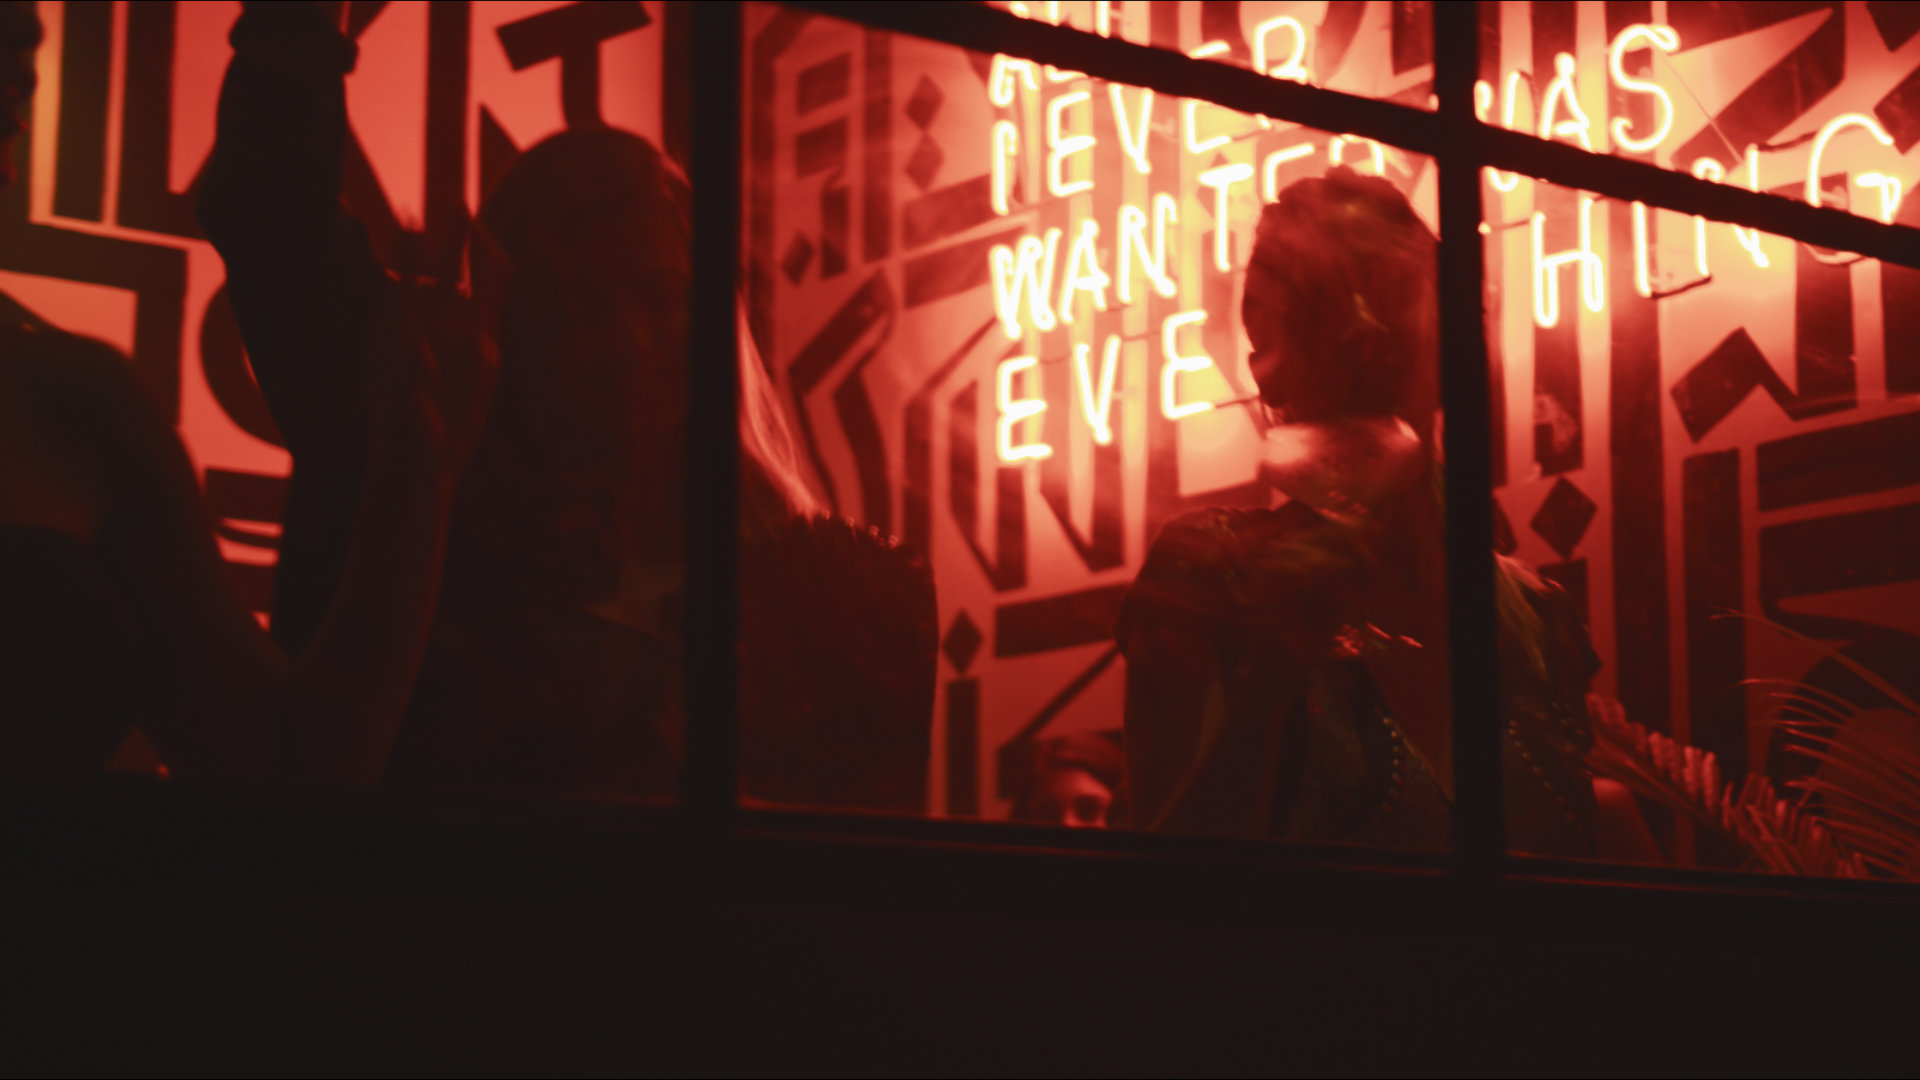
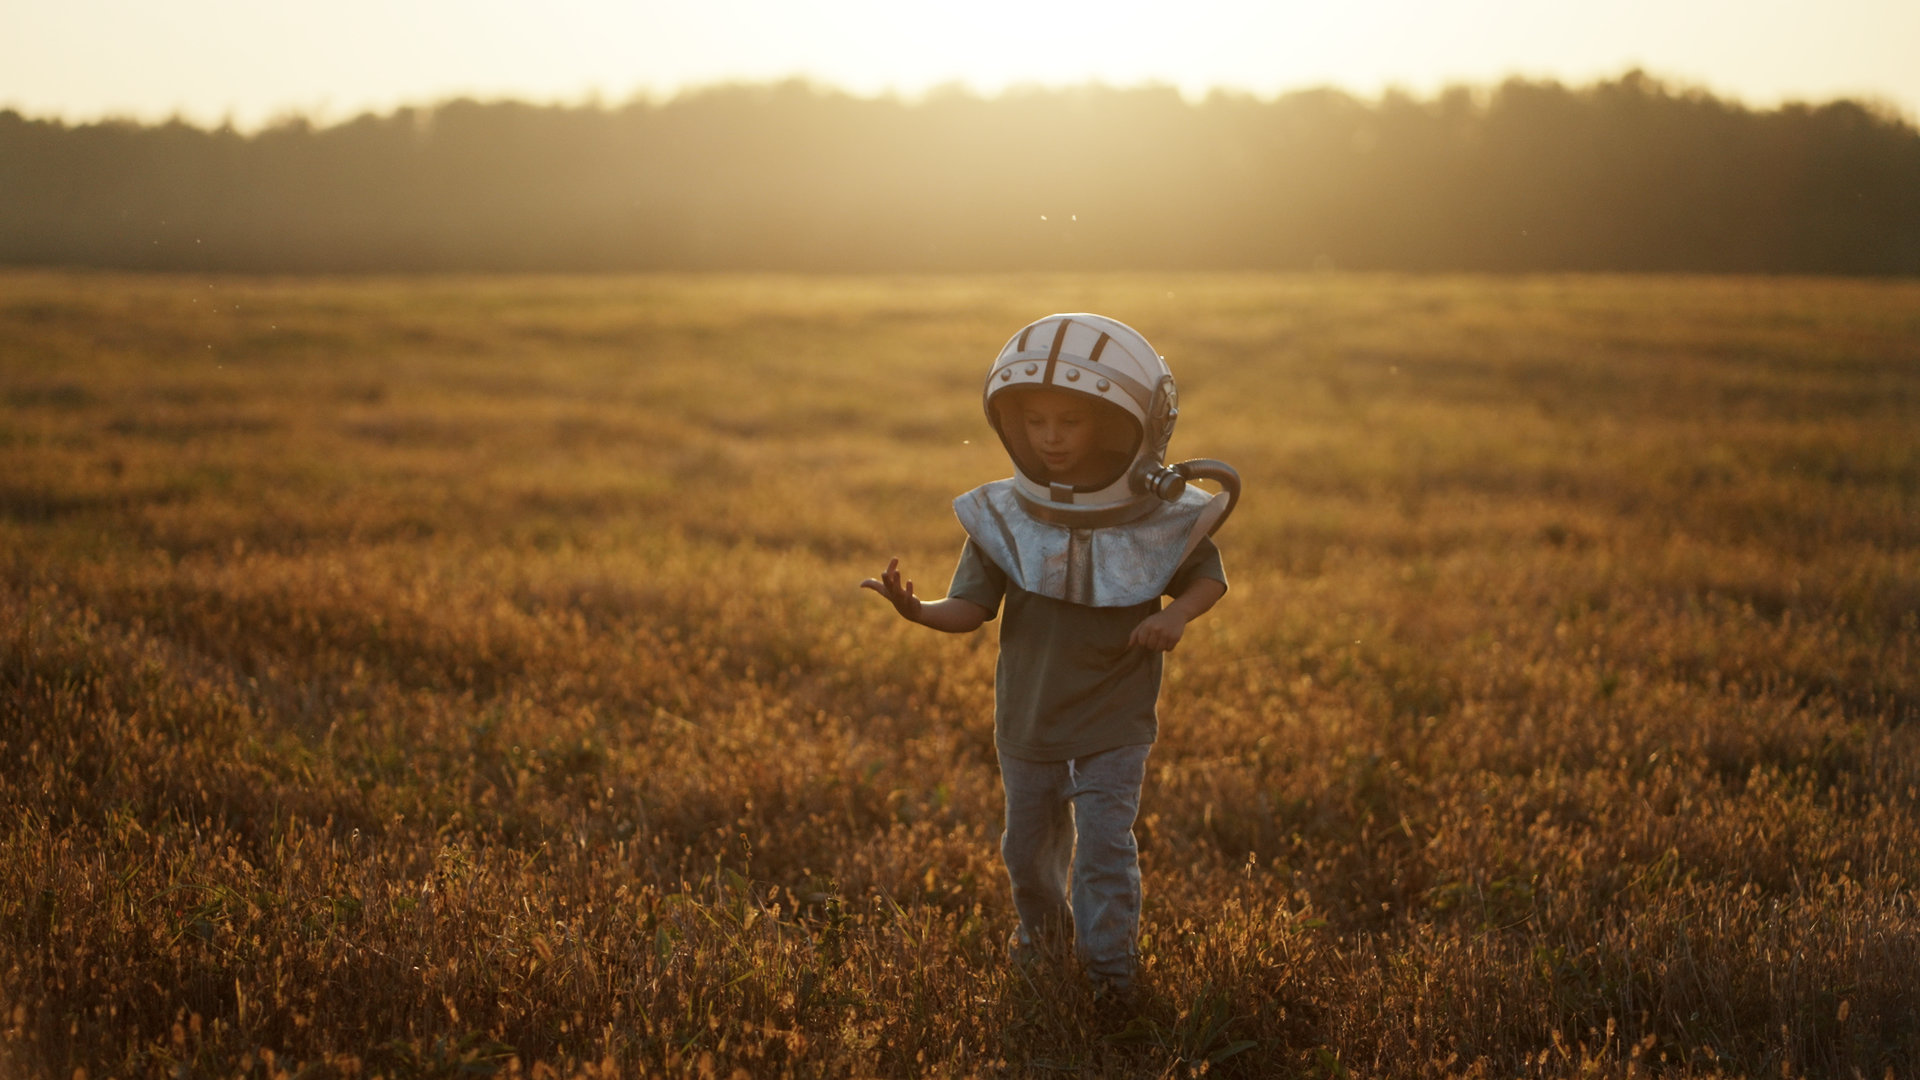
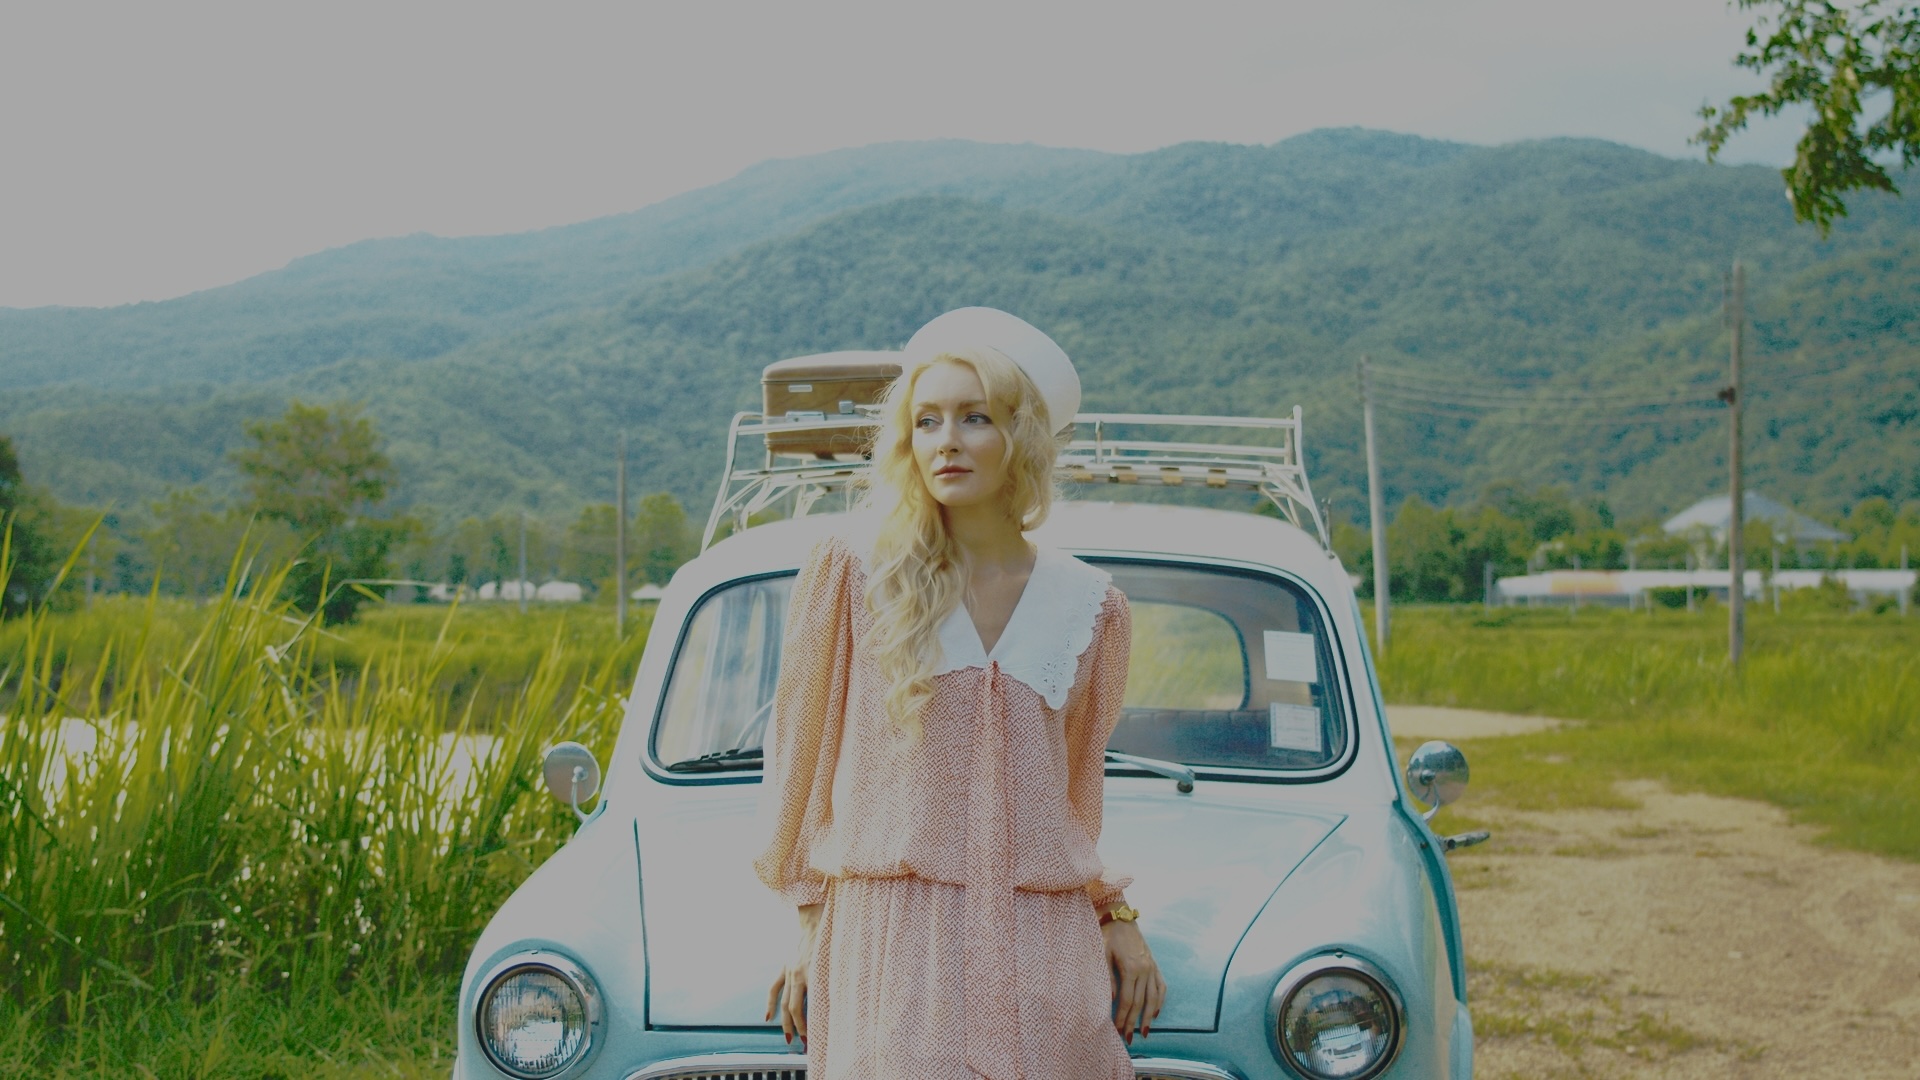
In almost every timeline, you have footage from different cameras, such as:
![]() Action Camera or Drone
Action Camera or Drone![]() Main Camera
Main Camera![]() B-Camera
B-Camera
You can think of your timeline looking like this:

each clip speaks a different language.
The result is that you need to fine-tune each piece of footage individually.
All clips feel different to grade and even after dozens of adjustments, your project still doesn’t look cohesive.
Ultimately, you are fighting technicalities instead of being creative.
It doesn’t have to be this way!
Make all your clips speak the same language

+
Colour Space Transformation
=

Option 1
Transform all the footage into a common working colour space.
For example
“![]() KOLOR Default”.
KOLOR Default”.
Option 2
Transform all the footage into your main camera’s colour space.
For example
“![]() S-Log 3 S-Gamut3.Cine”.
S-Log 3 S-Gamut3.Cine”.
+
Colour Space Transformation
=

KOLOR vs. DaVinci Resolve
Wait, people switch apps for this?!
Thanks to our built-in Device Rendering Transform (DRT), KOLOR’s Colour Space Transform will yield more natural-looking, aesthetically pleasing images.
While DaVinci Resolve’s Colour Space Transform can transform your footage for display, it completely lacks DRT functionality.
This means the burden is entirely on you to make sure nothing goes south. Especially in extreme scenarios e.g. direct light or neon light.
But you are the judge:
 DaVinci Resolve CST
 KOLOR CST
 DaVinci Resolve CST
 KOLOR CST
 DaVinci Resolve CST
 KOLOR CST
The only difference in these images is the display transform (KOLOR vs. Resolve). Everything else is identical.
No clipping in sight!
Our Colour Space Transform is truly non-destructive*
Do you know this situation? When shooting, you make sure you protect all your highlights but when you apply a LUT in Final Cut Pro everything blows out.
This happens because LUTs are destructive adjustments. They clip information that goes outside their range.**
 LUT
LUT
 CST
CST
(*) The signal will be clamped only when transforming scene or intermediate spaces to display spaces to avoid sending out illegal values.
(**) You can also prevent this issue by making your adjustments before the LUT. But if you’re using Final Cut Pro’s camera LUT feature, you’re out of luck.
Supported Cameras and Colour Spaces
We support all commonly used colour spaces.
- Apple Log
- Apple Log 2
- ARRI LogC3 / ARRI Wide Gamut 3
- ARRI LogC4 / ARRI Wide Gamut 4
- BlackMagic Film Gen 5
- DaVinci Intermediate / DaVinci Wide Gamut
- C-Log
- BT.709
- BT.2020
- Canon Cinema Gamut
- C-Log 2
- BT.709
- BT.2020
- Canon Cinema Gamut
- C-Log 3
- BT.709
- BT.2020
- Canon Cinema Gamut
- D-Log
- D-Log M
- Action 5 D-Log M
- Air 2S
- Mavic 2 Pro
- Mavic 3 Pro
- Mini 4 Pro
- Mini 5 Pro
- Pocket 3
- GP-Log
- GP-Log 2
- F-Log / BT.2020
- F-Log 2 / BT.2020
- F-Log 2 C / F-Gamut C
- Leica L-Log
- BT.709
- BT.2020
- N-Log / BT.2020
- V-Log / V-Gamut
- Phantom Log 1
- Phantom Log 2
- RED Log3G10 / RED Wide Gamut RGB
- Samsung Log
- S-Log 2
- S-Gamut
- S-Gamut3
- S-Gamut3.Cine
- S-Log 3
- S-Gamut
- S-Gamut3
- S-Gamut3.Cine
- Transfer Functions
- ACES CCT
- Linear
- Gamma 2.2 (sRGB)
- Gamma 2.4 (Rec.709)
- Gamma 2.6
- Gamuts
- P3 (DCI)
- P3 D65
- Rec.709 / BT.709
- Rec.2020 / BT.2020
Download our Colour Space Transform for free
Okay but what’s the catch?
Our Colour Space Transformation plugin is completely free. You can use it as much as you want without any restrictions.
In return, we just ask you to sign up and join us on the journey. We’re building a new generation of colour grading tools, and we’d love to let you know when the next one is ready.
No spam, no automated campaigns. Only real updates worth your time.
What you need to do:
Step 1: Enter your name and email address
Step 2: You will receive an email to confirm your email address.
Click the link/button in the email to confirm your email address.
Step 3: The Plugin will be sent to you within about 2 minutes
Get the Plugin here:
System Requirements
💻 Apple Silicon Mac
🖥️ macOS Sonoma
🎬 Final Cut Pro 11.1.1
Any Questions?
Frequently asked questions about our CST
Yes! In fact, you can use any LUT you like. For example, if you have a LUT for S-Log 3 S-Gamut3.Cine and you want to use it on your GoPro footage, just transform your GoPro Footage to S-Log 3 S-Gamut3.Cine and you’re good to go!
Yes! Our CST even comes with presets for all the different cameras. Using these presets, you can apply it to many clips without fiddling around with the settings.
It depends on your workflow, but the most common workflow amongst colourists is using a CST to go to an intermediate colour space before anything else. Then, they perform their operations in this intermediate colour space and finally go to their display space. The signal chain looks like this:
Clip → Input CST (IDT) → Adjustments → Output CST (DRT)
The CST does not do visual camera matching. Camera sensors have different spectral sensitivities and will therefore differ slightly, especially when capturing spectrally narrow lights.
You can imagine the CST like translating all clips to the same language.
Tools will behave consistently and display transforms will do what they are supposed to do regardless of what camera you shot on.
Yes! If you don’t want to use LUTs, you’re now free to do so.
However, you might still want to use some kind of creative look LUTs.
If you’re using a manufacturer LUT, you’re buying the vendors’ colour science. This can be good if you like how your image looks, this can be bad if you don’t like how the image looks.
That said, our CST gives you an alternative, natural rendering with higher precision than LUTs are capable of.
When transforming footage for display, there is no such thing as a true neutral starting point. Not even DaVinci Resolve’s Colour Space Transform.
However, our CST provides a more natural starting point than most manufacturer LUTs do.
Release Notes
Information about Updates, Releases and Patches
⚠️ ATTENTION! This update is a major update to the CST which means the new version is NOT backwards compatible. Please finish all projects before updating or swap all CSTs in your timeline.
Please also note that previously created Effects Presets will not work and need to be re-created!⚠️
📷 New Camera Support
- Adds distinct gamut support for DJI
- Action 5 D-Log M
- Air 2S
- Mavic 2 Pro
- Mavic 3 Pro
- Mini 4 Pro
- Mini 5 Pro
- Pocket 3
- GoPro GP Log 2
- Samsung Log
🛠️ Improvements
- adds Final Cut Pro’s “4k” tag so the plugin shows up when looking for 4k-only effects
- fixes an issue where the installation would fail
- fixes the white point for D-Gamut
🐞 Bug Fixes
- fixes an issue where IDT and ODT presets would show the “Missing Media” screen
- fixes an issue UI of other plugins above the CST could disappear
- fixes white point error in Apple Log 2
- fixes an issue where there could be black artefacts in Apple Log 1 footage
- initial release