Tutorials and Resources

  • Workflow with only one Camera (+ BASIS Working Colour Space)
    Workflow with only one Camera (+ BASIS Working Colour Space)

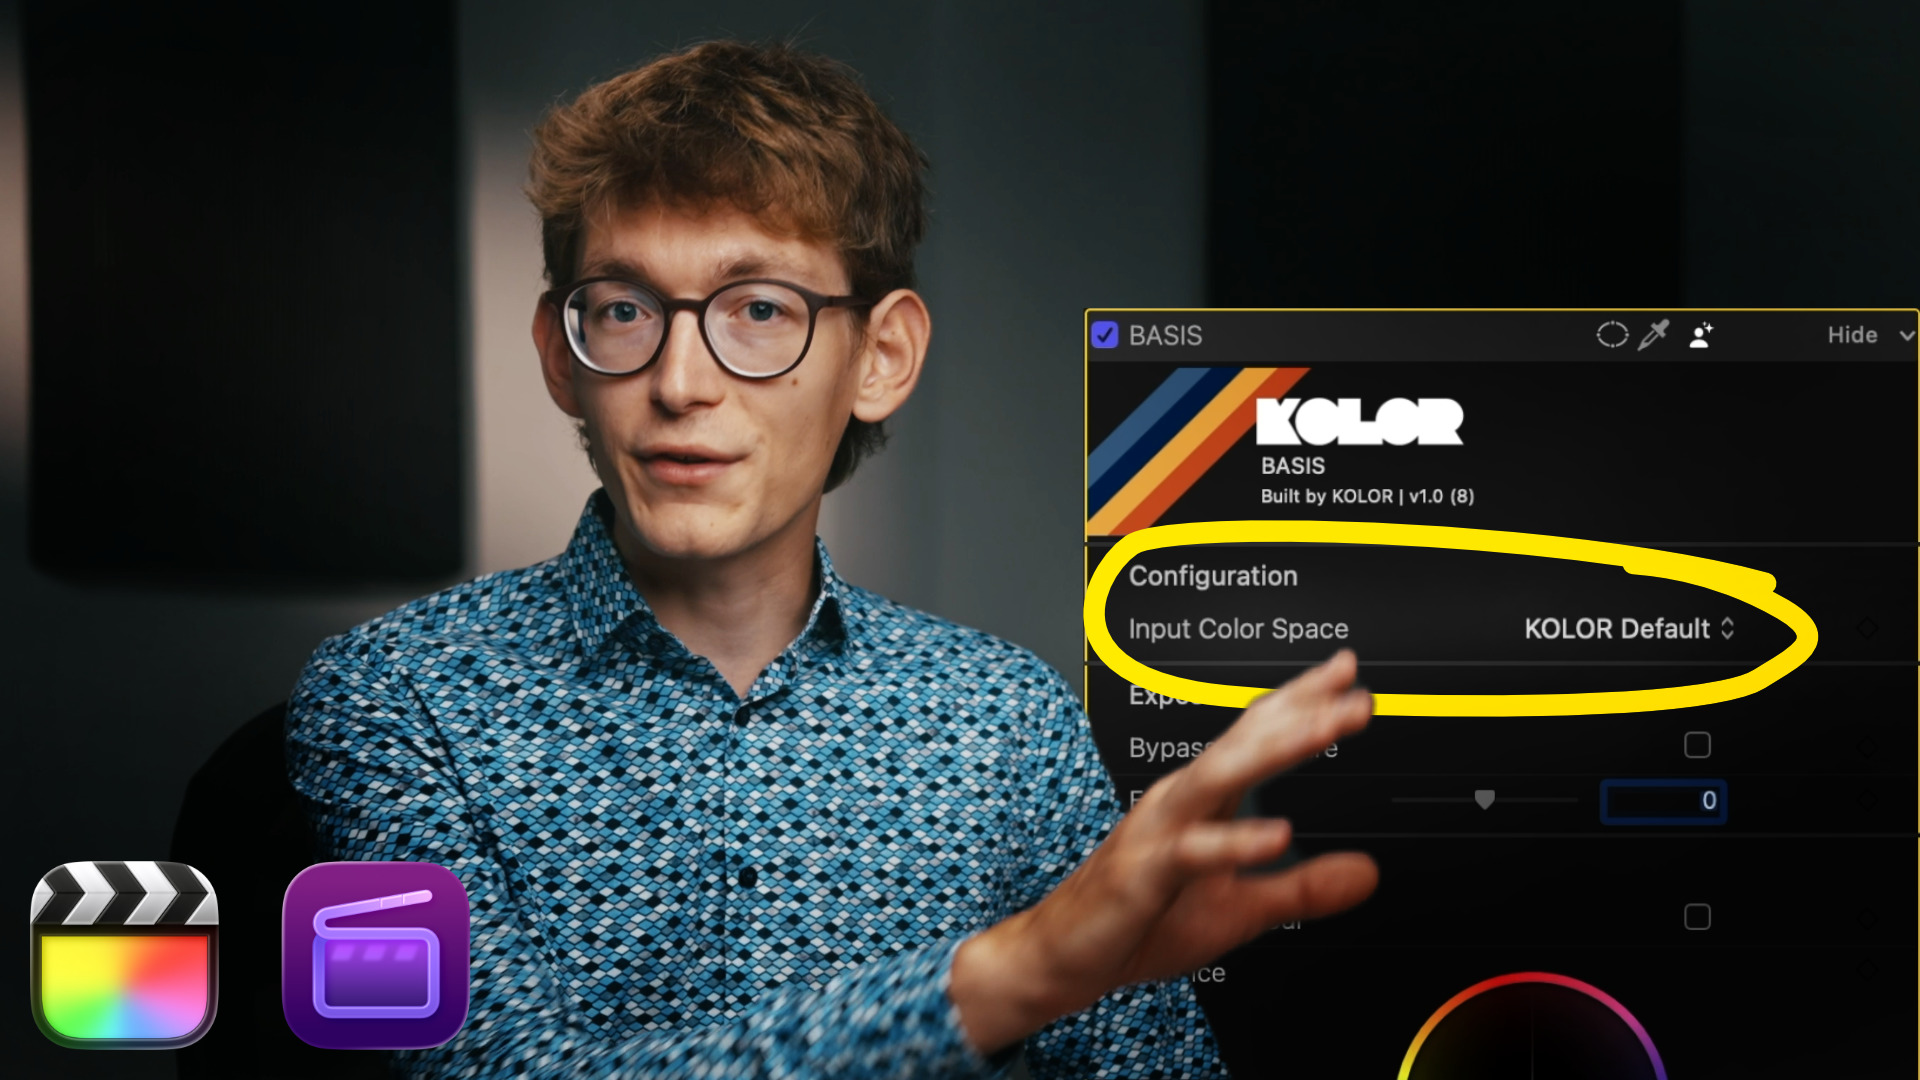
    In this tutorial, we take a look at colour managing a timeline when using only one camera. Even with footage from only one camera, colour management is still essential. We also take a look at BASIS’ colour space setting and answer the question how and when you should use it.

    We cover:

    • Colour Management Basics
    • Colour Management in Final Cut Pro
    • How to use LUTs with BASIS and the Colour Space Transform
    • Working with custom LUTs
      • LUTs for Rec.709
      • LUTs built for certain colour spaces
    • Camera colour spaces vs working colour spaces

    You will find time stamps in the video for easier navigation.

    In this tutorial, we use these products:

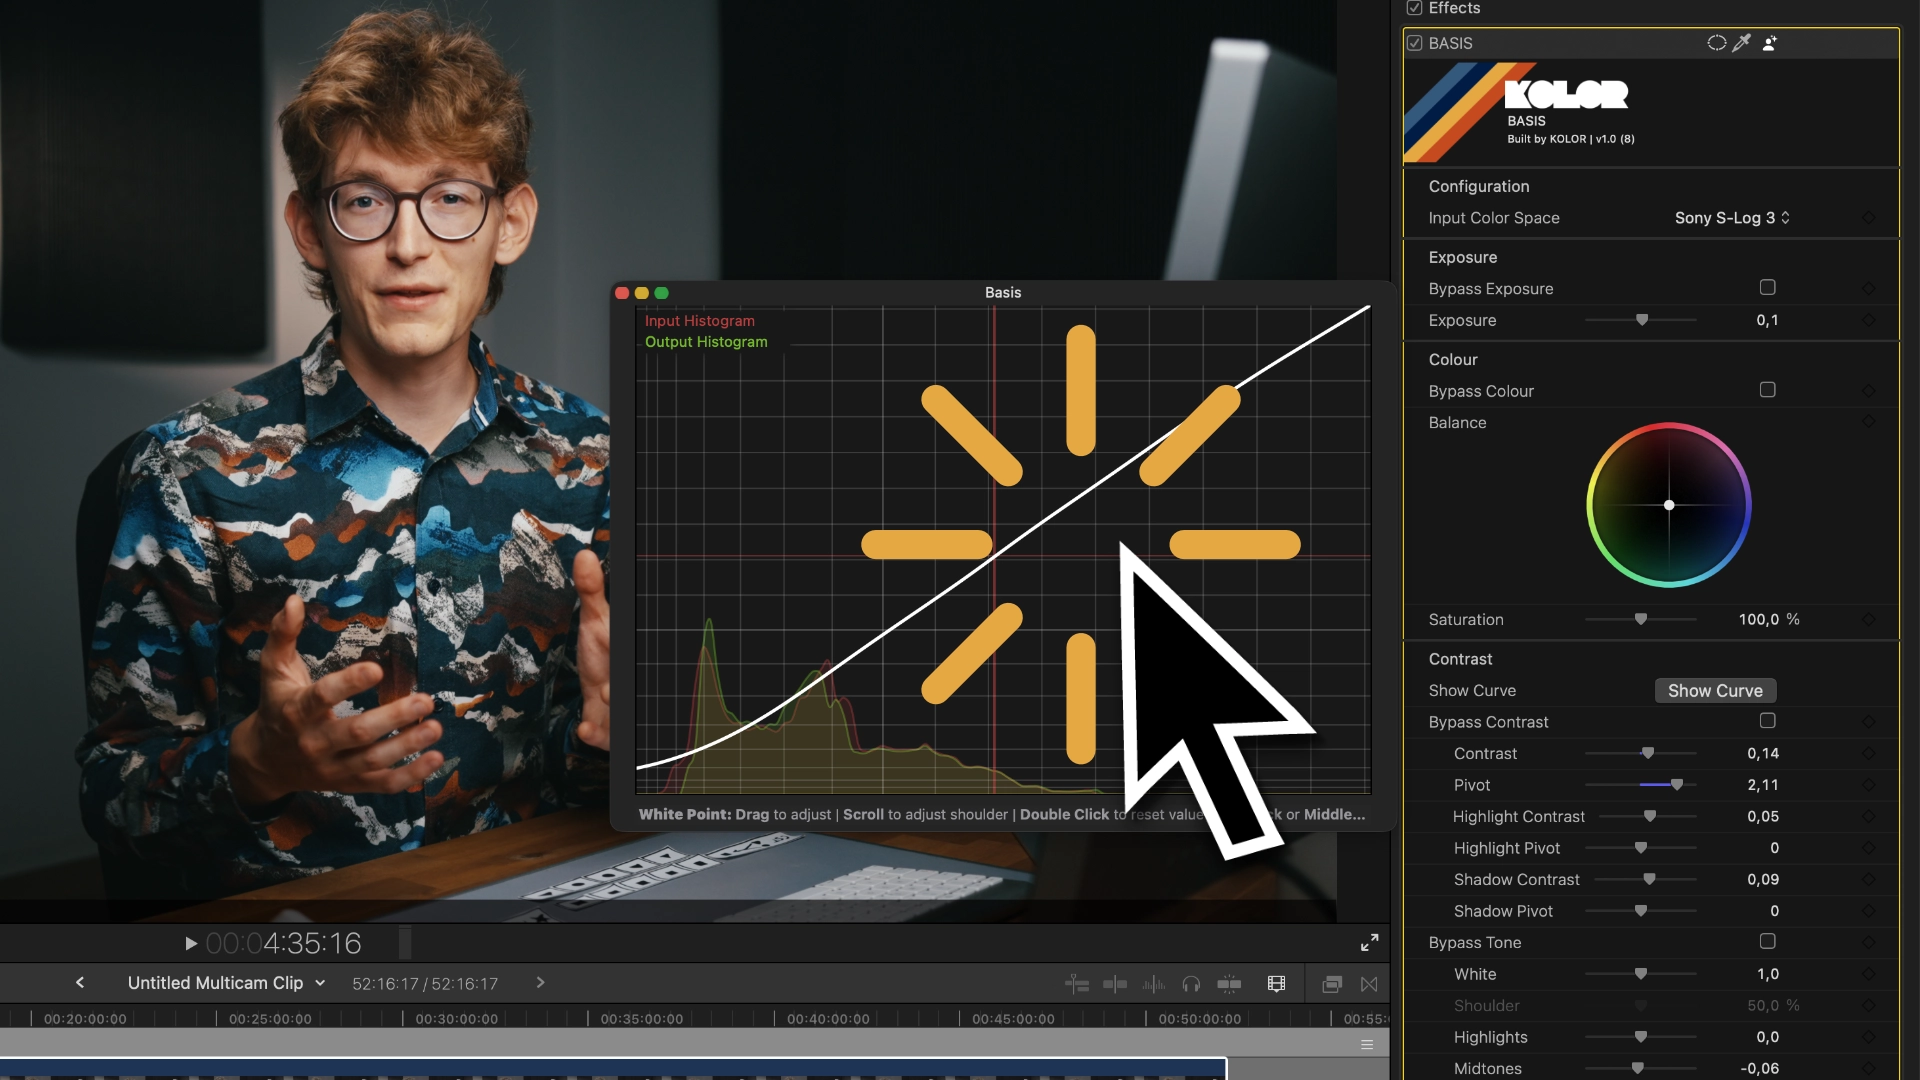
  • BASIS Gestures explained

    BASIS Gestures explained

    General Info

    All gestures work with a regular mouse, Apple’s Magic Mouse and a trackpad!

    You just need to have secondary click (right click) enabled.

    Overview

    Adjust Region Value

    Adjust the value of whites, highlights, midtones, shadows and blacks by clicking and dragging.

    Reset Region Value

    Double click a region to reset its value. This leaves adjustments to contrast, pivot, shoulder and toe intact.


    Adjust Contrast and Region Contrast

    Hover over the midrange and scroll to adjust the overall contrast of your image. Hover over the highlight or shadow region to adjust highlight- or shadow-contrast respectively.

    Reset Contrast and Region Contrast

    Click the middle mouse button or hold ALT and left-click to reset the contrast.

    Attention! This leaves your previously set pivot intact.


    Adjust Pivot and Region Pivot

    By clicking and dragging using your right mouse button, you can change the pivot of the general contrast, the highlight and the shadow contrast respectively.

    Reset Everything

    Hold CMD and left-click anywhere to reset the entire contrast and tone adjustment.

    Video Tutorial

  • Getting started with Colour Grading and Colour Management
    Getting started with Colour Grading and Colour Management

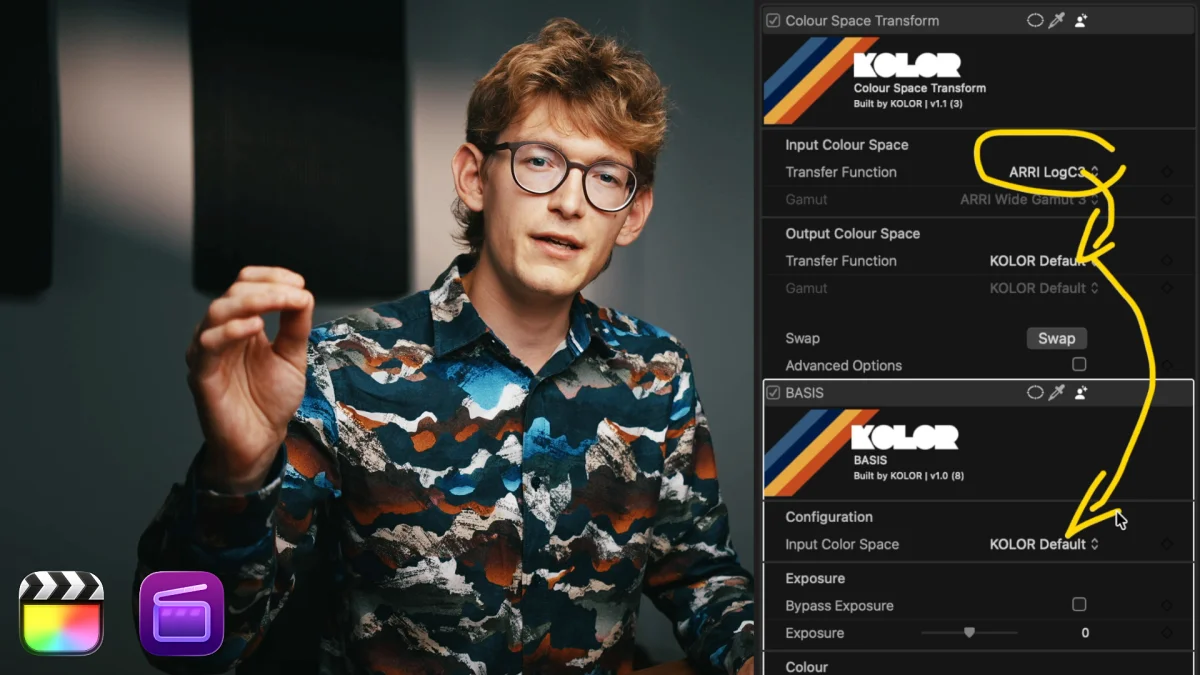
    In this tutorial, we take a look at everything you need to know to start colour grading successfully in Final Cut Pro.

    We cover:

    • Colour Management Basics
    • Colour Management in Final Cut Pro
    • How to use LUTs with BASIS and the Colour Space Transform
    • Working with custom LUTs
      • LUTs for Rec.709
      • LUTs built for certain colour spaces
    • Why you shouldn’t cut adjustment layers and what to do instead

    You will find time stamps in the video for easier navigation.

    In this tutorial, we use these products:

  • What does ‘Free Updates Within One Generation’ mean?

    What does ‘Free Updates Within One Generation’ mean?

    Our Free vs. Paid Updates Model

    We don’t believe in subscription models. We think they are disrespectful to the end user and disincentivise improvement and accountability. We think you should own the product that you paid for and it is our job to make sure the product works.

    At the same time, we need to run a sustainable business and make sure that we can continue providing support and improving our products.

    This means, we use a “free updates per generation” model, similar to companies like iZotope and Steinberg.

    • Small (“.x”) updates such as bug fixes, and small interface and workflow improvements are free for as long as the version is supported.
    • Major version upgrades (“X.”) need to be paid for, but owners of previous versions receive a significant upgrade discount.

    Example

    Let’s assume you bought BASIS when the most recent version was 1.2.

    • You get an email notifying you that version 1.3 has been released, which features some bug fixes and minor improvements to the interface. This update is free for you.
    • A year later, a new major version 2.0 is released. This new major version requires an upgrade if you would like to access the new features. You will be notified and given instructions on how to access your upgrade discount.
    • If you do not want to update, you can just continue using what you already have. Your older plugin will continue to work indefinitely until compatibility will eventually break as more Final Cut Pro Updates are released.
  • Getting started with the Colour Space Transform for Final Cut Pro

    Getting started with the Colour Space Transform for Final Cut Pro

    What you will learn

    • Why standard LUT workflows in Final Cut Pro throw away your camera’s dynamic range and colour data.
    • Demonstrating why built-in LUTs limit flexibility, particularly when trying to match multiple cameras.
    • Basic workflow Setup: How to use the plugin’s simple interface by selecting Input and Output color spaces.
    • Advanced control (Gamuts): Understanding how to manually manage gamuts using advanced options.
    • Working with multiple cameras: The necessity of converting different camera footage into one common, intermediate working space (e.g. ACES, DaVinci Intermediate or KOLOR Default).
    • Batch Processing: Using IDT (Input Device Transform) and ODT (Output Device Transform) presets to apply the same correction across hundreds of clips simultaneously.
  • Viewer Image Shows Flickering on Playback or Scrubbing

    Viewer Image Shows Flickering on Playback or Scrubbing

    What’s causing this issue?

    We thoroughly investigated this behaviour. The issue appears when you use the global “Reset Parameter” option in the top left corner for an entire plugin.

    This is an issue caused by Apple as we can reproduce this issue with multiple plugins, not just our own.

    Sadly, there is nothing we can do about it.

    How to fix it

    If you have used the global “Reset Parameter” option, there is nothing you can do. If you’re lucky and you can still undo this operation, undo it.

    If you cannot undo this anymore, you need to delete the plugin from your clip and apply it again.

    How to reset instead

    To avoid this issue you can reset your parameters in two different ways.

    Either reset an entire group.

    Or reset individual parameters.

    We know, that blows

    Good thing is, this is a well known issue by now and we hope Apple fixes it sooner rather than later.

  • Installing a KOLOR Plugin in Final Cut Pro

    Installing a KOLOR Plugin in Final Cut Pro

    Step 1: Quit Final Cut Pro and unzip the file

    After downloading, double click the zip file if it is not already unzipped.

    If Final Cut Pro is still running, quit it now.

    Step 2: Run the installer

    Double click the .dmg file to open this window. Then, double-click to install.

    Step 3: Enter your password

    Enter your Mac’s password to install the Colour Space Transform plugin.

    Step 5: Successful installation

    After running the installation process, you will see this screen. That means everything has been installed successfully.

    The installation did not work? Please see our troubleshooting guides before reaching out to us.

    Step 6: Back up your current version (optional but recommended)

    Copy and store the dmg.zip file you downloaded somewhere so you can roll back to an older version if you need to.

    How can I get an older version of the plugin?

    If you did not back up your current version, we’re happy to send you an older version. Just contact us!

  • IDT and ODT effects preset show “Missing Media” screen

    IDT and ODT effects preset show “Missing Media” screen

    What causes this issue?

    When a new plugin is installed or you save a new preset, Final Cut Pro generates a thumbnail for this preset or plugin and caches it.

    If the creation went wrong once, the “Missing Media” screen will be displayed despite everything working properly.

    Final Cut Pro does not refresh these thumbnails on its own, so you need to force Final Cut Pro to recreate them.

    Where are these files stored?

    Depending you your Final Cut Pro installation the Effect Browser Thumbnails are stored in one of these three locations:

    Location 1

    ~/Library/Containers/com.apple.FinalCut/Data/Library/Caches/Effect\ Browser\ Thumbnails \

    Location 2

      ~/Library/Containers/com.apple.FinalCutApp/Data/Library/Caches/Effect\ Browser\ Thumbnails \

    Location 3 – For Final Cut Pro’s trial version only

      ~/Library/Containers/com.apple.FinalCutTrial/Data/Library/Caches/Effect\ Browser\ Thumbnails

    Fun fact: You cannot be sure whether Final Cut Pro uses com.apple.FinalCut or com.apple.FinalCutApp so you need to check manually which directory exists.

    Delete cached Effect Browser Thumbnails via Finder

    Before you start, quit Final Cut Pro.

    Open Finder and click on “Go”.

    Then copy and paste one destination at a time and see which one yields a result. If Finder shows a result, go there and delete the entire folder called “Effect Browser Thumbnails”.

    Location 1

    ~/Library/Containers/com.apple.FinalCut/Data/Library/Caches/Effect\ Browser\ Thumbnails \

    Location 2

      ~/Library/Containers/com.apple.FinalCutApp/Data/Library/Caches/Effect\ Browser\ Thumbnails \

    Location 3 – For Final Cut Pro’s trial version only

      ~/Library/Containers/com.apple.FinalCutTrial/Data/Library/Caches/Effect\ Browser\ Thumbnails

    Delete cached Effect Browser Thumbnails via Terminal

    Before you start, quit Final Cut Pro.

    Then, copy this entire code snippet:

    rm -rf ~/Library/Containers/com.apple.FinalCut/Data/Library/Caches/Effect\ Browser\ Thumbnails \
      ~/Library/Containers/com.apple.FinalCutApp/Data/Library/Caches/Effect\ Browser\ Thumbnails \
      ~/Library/Containers/com.apple.FinalCutTrial/Data/Library/Caches/Effect\ Browser\ Thumbnails
    

    Paste it into terminal and press Enter. Terminal will ask you for permission. Click on allow.

    Start Final Cut Pro. Everything should work now.

  • How to Update the KOLOR Colour Space Transform Plugin

    How to Update the KOLOR Colour Space Transform Plugin

    How do I know an update is available?

    Option 1: You’re subscribed to our Colour Space Transform newsletter. Then, you will receive an email whenever an update is available.

    Option 2: Periodically check the release notes on the Colour Space Transform’s product page.

    How do I know which version I currently have installed?

    Inside Final Cut Pro, apply the Colour Space Transform plugin to a clip. Inside the plugin header, you will see the current version number.

    Will updating the plugin break my projects?

    Generally, we always recommend you finish your current projects before updating.

    However, usually our updates do not break backwards compatibility. So if you really need to update during a project, it’s usually safe to do.

    However, sometimes updates do break backwards compatibility. If that is the case, we will issue a warning like this:

    2026-06-02 Release v1.1.3

    ⚠️ ATTENTION! This update is a major update to the CST which means the new version is NOT backwards compatible. Please finish all projects before updating or swap all CSTs in your timeline.

    Please also note that previously created Effects Presets will not work and need to be re-created!⚠️

    If a release comes with this warning, do not update until you finished your current projects.

    If you do need to update or you are working on a long-term project, you need to replace all instances of the Colour Space Transform in your project after updating.

    How to download an update?

    Option 1: If you’re signed up for our Colour Space Transform email newsletter, you can download the latest version straight from the email using the download button.

    Option 2: Navigate to the Colour Space Transform’s product page. Then, scroll down to the download section. If you want to be up-to-date, you can sign up for our newsletter, or you can press “Download Only”. A download will start automatically.

    Step 1: Quit Final Cut Pro and unzip the file

    After downloading, double click the zip file if it is not already unzipped.

    If Final Cut Pro is still running, quit it now.

    Step 2: Run the installer

    Double click the .dmg file to open this window. Then, double-click to install.

    Step 3: Enter your password

    Enter your Mac’s password to install the Colour Space Transform plugin.

    Step 5: Successful installation

    After running the installation process, you will see this screen. That means everything has been installed successfully.

    The installation did not work? Please see our troubleshooting guides before reaching out to us.

    Step 6: Back up your current version (optional but recommended)

    Copy and store the dmg.zip file you downloaded somewhere so you can roll back to an older version if you need to.

    How can I get an older version of the plugin?

    If you did not back up your current version, we’re happy to send you an older version. Just contact us!

  • What is the KOLOR Default Colour Space?

    What is the KOLOR Default Colour Space?

    What is KOLOR Default?

    KOLOR Default is an intermediate colour space almost identical to DaVinci Intermediate / DaVinci Wide Gamut. If you have tools or LUTs built for DaVinci Intermediate / DaVinci Wide Gamut, you can use them with our tools being set to KOLOR Default.

    This works out of the box. There will be a difference when compared directly to DaVinci Resolve, but it will be minor.

    What’s the difference between KOLOR Default and DaVinci Intermediate / DaVinci Wide Gamut?

    We slightly tweaked the transfer function to improve noise performance. This offset is visible, but negligible. The gamut is identical to DaVinci Wide Gamut.